Accelerated Guide to Fullstack Web3 with ASS (Anchor, Solana, and Svelte)
In this tutorial, you'll learn how to build from scratch a fullstack Web3 dApp with the ASS stack - the hottest Solana tech stack!
You do not need any Rust experience to follow this guide, but it would be helpful to have a general understanding of how dApps work at least from a user’s perspective (all that connect wallet, approve transaction kind of stuff).
You can find the finished project in this repo. If you have any questions, ping me on Twitter @0xMuse.
I’ll skip the further mumbling on why ASS stack is thicc because it is self-evident. Let’s dive straight in!
Preview of our app
We are building an app called “gm Solana” - a guest book app where users can log in with their Solana wallets and drop a “gm” to their frens.

Although the app is simple, you will be able to understand intuitively how Solana apps work, and get a hands-on experience with the most important skills and concepts developing a fullstack Solana dApp - the typical workflow, read and write blockchain data, connect the blockchain with your frontend app, authentication, etc.
Our tech stack
First, let's have a look at what the ASS stack covers:
- Anchor - The de facto high-level framework for Solana
- Solana - The reason why are you reading this
- Svelte - A blazing fast frontend framework (actually it’s a compiler), an alternative to React
- 🍑 - The peach emoji, which is often associated with the word “ass”
In addition, we’ll also integrate our app with:
- Phantom - An awesome Solana browser wallet
- @solana/web3.js - The Javascript library bridging client-side and the Solana network
- TypeScript - Frankly, I just can’t work with Javascript... Besides, most Solana tutorials available right now are written in JS, and to get everything working with TS sometimes needs some extra effort, so I hope this tutorial proves helpful
I’ll also be using VS Code. If you haven’t done it yet, you need to install the Svelte and Rust extensions to follow along this tutorial.
Step 0. Install and set up Solana
Before we start, you need to install the necessary tools. M1 Macs used to have some issues setting things up for the Solana Tool Suite, but now there is an official binary build for the M1 architecture, so the process has become pretty straightforward.
Install Rust
First, you will need to install the Rust toolchain.
curl https://sh.rustup.rs -sSf | sh
source $HOME/.cargo/env
rustup component add rustfmt

Install Solana Tool Suite
To install Solana, you can simply run the installation script. I’m specifying to install v1.9.4:
sh -c "$(curl -sSfL https://release.solana.com/v1.9.4/install)"
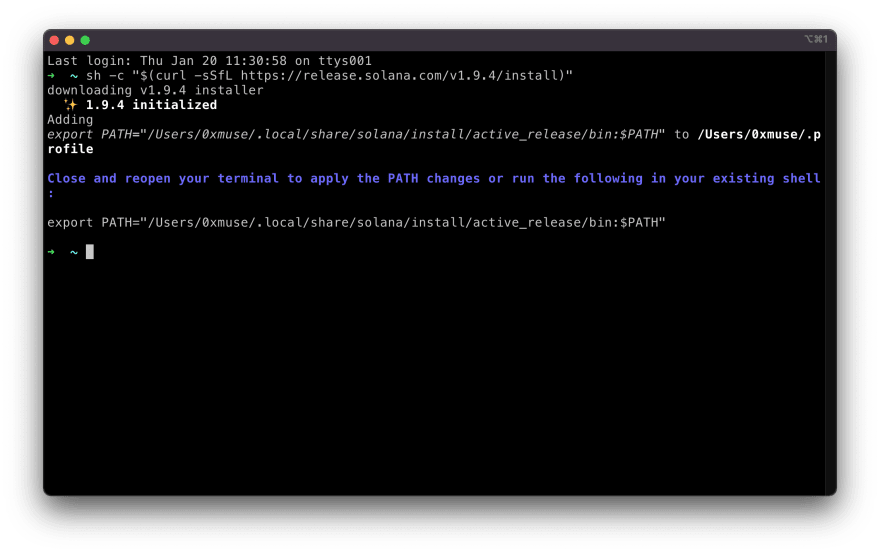
Note that if you are using zsh, you need to update your PATH.
After it is finished, you can verify if the installation is successful with the following command.
solana --version
Now, you can run the test validator (a local testnet) to see if everything works correctly with command solana-test-validator.

Let’s stop the test validator for now and move on!
Install Anchor
Anchor is the recommended framework for Solana programs.
Note that Anchor uses Yarn v1 to manage Javascript dependencies in your project, so make sure you already have it installed on your computer.
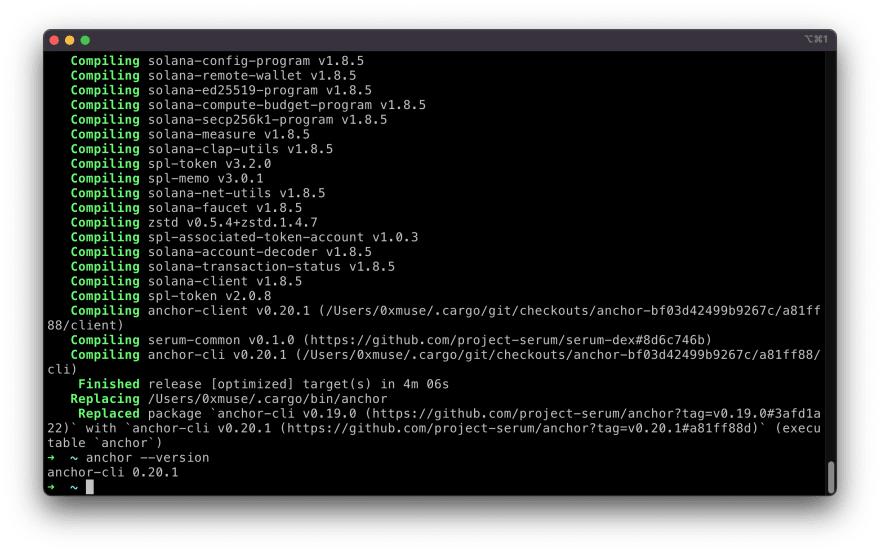
Let’s build the Rust code from source, it’s pretty straightforward:
cargo install --git https://github.com/project-serum/anchor --tag v0.20.1 anchor-cli --locked
Then, you can verify if the installation is successful with:
anchor --version
Install Phantom Wallet
The Phantom Wallet is a browser extension that takes care of connecting your Solana wallet and the dApp you are visiting, as well as the Solana blockchain. You can get it from their official website and follow their instruction to set it up.
If you have used MetaMask with EVM compatible networks before, you are then already familiar with how it works.

And that’s it. Let’s have some real fun!
Step 1. Create an Anchor project - gm Solana!
gm-solana
To kick off, use Anchor to initialize a project and open it in VS Code:
anchor init gm-solana
cd gm-solana
code .
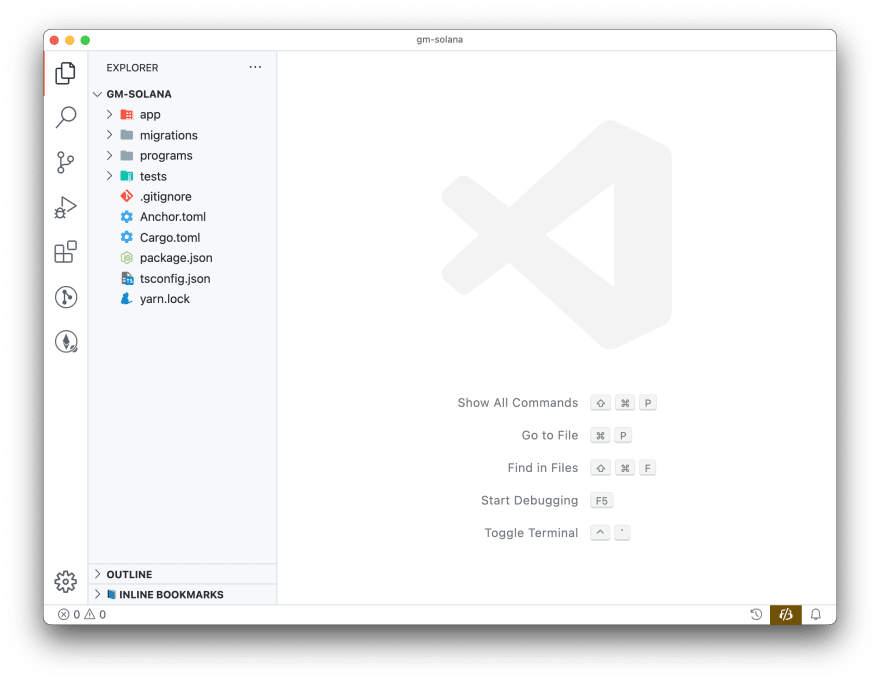
What we’ve got here are some config files and a few subdirectories:
- app - where our client-side Svelte app will be
- migrations - deployment scripts
- programs - smart contracts
- tests - the name says it all ;)
Set up keys
If you haven’t played with Solana on this machine yet, you will need to run solana-keygen new to generate a new key. The passphrase can be empty.
The new key is saved at ~/.config/solana/id.json.

You can also use the key generated from your Phantom wallet, but I’m just going to use separate ones in this tutorial for clarity.
Configure Solana to use localhost
Next, run the following commands to set the network to localhost, and check the current settings:
solana config set --url localhost
solana config get

Later we will see how to push your app to devnet or mainnet.
Test and verify project setup
Now, you can run anchor build to test build the default example project Anchor created.

Building works! Now, run anchor test to see if tests pass too.
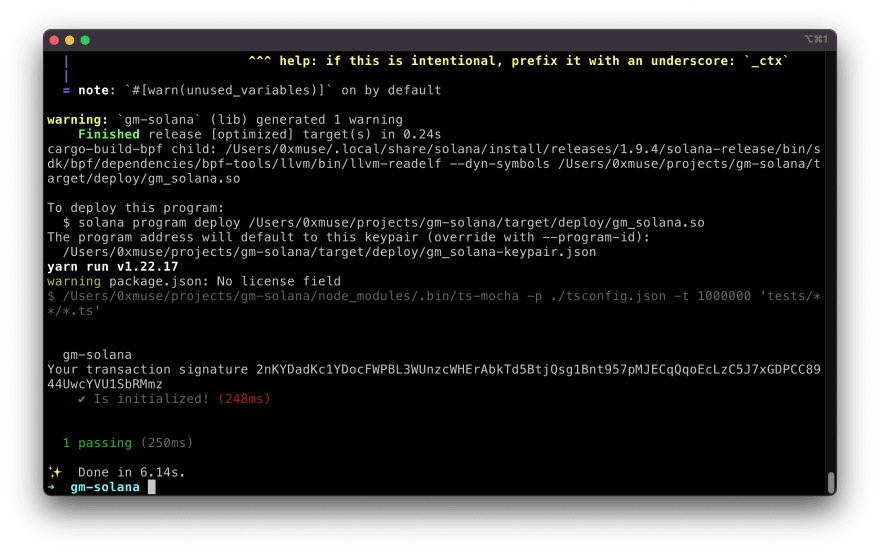
The anchor test command does a bunch in one go - it spins up the test validator, deploys the build, and runs the test cases against the deployments. Pretty handy!
Step 2. Anatomy of an Anchor program
Programs and Accounts
In Solana, there’s a clear separation of logic (programs) and state (accounts). This is very different from Ethereum where contracts hold state themselves.
Users store data in accounts, Solana programs store data in accounts, the code instructions themselves are also stored in accounts. If your program wants some state stored, it will have to reach out to some accounts outside, everything is passed by reference.
Overview of the “hello world” example
Anchor is like the backend web framework for Solana, like Ruby on Rails, Express, or Flask. It really abstracts away a lot of the low level stuff so that you can focus on just designing logic and data structure.
Before we delete the “hello world” app that Anchor generated for us, let’s have a look at it first.
The magic all happens in the programs/gm-solana/src/lib.rs file, that’s the entrance of our program.
use anchor_lang::prelude::*;

declare_id!("Fg6PaFpoGXkYsidMpWTK6W2BeZ7FEfcYkg476zPFsLnS");

#[program]
pub mod gm_solana {
    use super::*;
    pub fn initialize(ctx: Context<Initialize>) -> ProgramResult {
        Ok(())
    }
}

#[derive(Accounts)]
pub struct Initialize {}
Let’s break it down:
Preamble
use anchor_lang::prelude::*;

declare_id!("Fg6PaFpoGXkYsidMpWTK6W2BeZ7FEfcYkg476zPFsLnS");
These two lines basically imports the Rust libraries needed here and hardcodes the address where your program will be deployed to (it needs to be predefined for security reasons).
Program and instruction handlers
#[program]
pub mod gm_solana {
    use super::*;
    pub fn initialize(ctx: Context<Initialize>) -> ProgramResult {
        Ok(())
    }
}
This section is where our logic is defined.
The #[program] is a Rust macro that abstracts away the boilerplate and extra code needed to make your Rust program an Anchor program.
The functions here are very similar to request handlers in server-side web frameworks. And, this is exactly what all these Web3 things are about - they replace the web servers from the traditional, centralized web!
We can see that the initialize instruction handler takes in a context ctx, which has the type of Context of struct Initialize. What a mouthful!
Remember that we said everything is passed by reference into the program, if the program wants to access and manipulate state? Well, that’s because of the parallel nature of Solana’s executions and how all programs are stateless.
When we want to call a function on a program, we need to provide all the accounts in advance (aka. all the data that might be needed for a function to perform some tasks).
This ctx thing basically contains all those references, and it uses some Rust magic to constrain the types of accounts that can be passed in, below in the account constraints part.
Account constraints
#[derive(Accounts)]
pub struct Initialize {}
We don’t have much going on here in this “hello world” program, but we’ll see more in our “gm Solana” app below. What this section does is to enforce that the context passed into the instruction handler has the correct accounts.
Our “gm Solana” program is more complex, let’s dive into it!
Step 3. Implement “gm Solana”
Understand what we need to do
Now we know what accounts and programs in Solana are, and how an Anchor app looks like. Let’s see what we need exactly for our “gm Solana” guest book app to work:
- some state to store all those gm’s (specifically - message content, sender, and timestamp)
- a program to access that state and add new gm’s when needed
- a bunch of functions aka. instruction handlers on that program to do the actual work
Sounds good, let’s go!
Define data structure
Let’s start with data structures first, then move on to the logic parts.
First, we need to store the program state somewhere. Let’s define a BaseAccount with exactly what we want to store - gm_count is an unsigned 64bit integer, and gm_list is a vector (a growable array) of GmMessage objects, which contain the message and some metadata.
#[account]
pub struct BaseAccount {
    pub gm_count: u64,
    pub gm_list: Vec<GmMessage>,
}

// define a struct called GmMessage that contains a message, sender, and timestamp
#[derive(Clone, Debug, AnchorSerialize, AnchorDeserialize)]
pub struct GmMessage {
    pub message: String,
    pub user: Pubkey,
    pub timestamp: i64,
}
The BaseAccount is marked under the #[account] macro, and because Solana works with specific kinds of data structures, we have to use the macro #[derive(Clone, Debug, AnchorSerialize, AnchorDeserialize)] here.